Wednesday, April 22, 2015

A novice prepares to cloth diaper.

I am so ready for baby to get here.  Like today.  Please. Any time now.  Nothing?

Okay... then I guess I'll have to move on to today's topic:

We have decided to cloth diaper!

It all started when we received a box of a few cloth diapering materials as a gift.  Before I got my hands on the soft, adorable goods, cloth diapering was not seriously on my radar.  After all, Gilbert was all disposable and seems no worse for it.  He didn't have diaper rash and he potty trained pretty early on.  I have no complaints that would push me toward cloth.

Then I got my hands on those soft diaper covers and that was all it really took for me to reconsider.  The realization that I spent $300 on diaper genie refills alone with Gilbert didn't hurt.

Also, cloth diapers are just cute in a way that disposables are not (or at least not the economical disposables).  I mean they come in plaid:


My reasons for going for it are simple:
1) I already had some gifted stuff to get started and even if I didn't, cloth is cheaper than disposable in the long run even with the initial chunk of change put in up front.  I could crunch the numbers, but other folks have here and here and here.
2) It keeps crap out of the landfill.
3) Less chemical residue on my baby's tush is one less thing to worry about.
4) You can reuse them with subsequent kiddos or sell the survivors at the end.
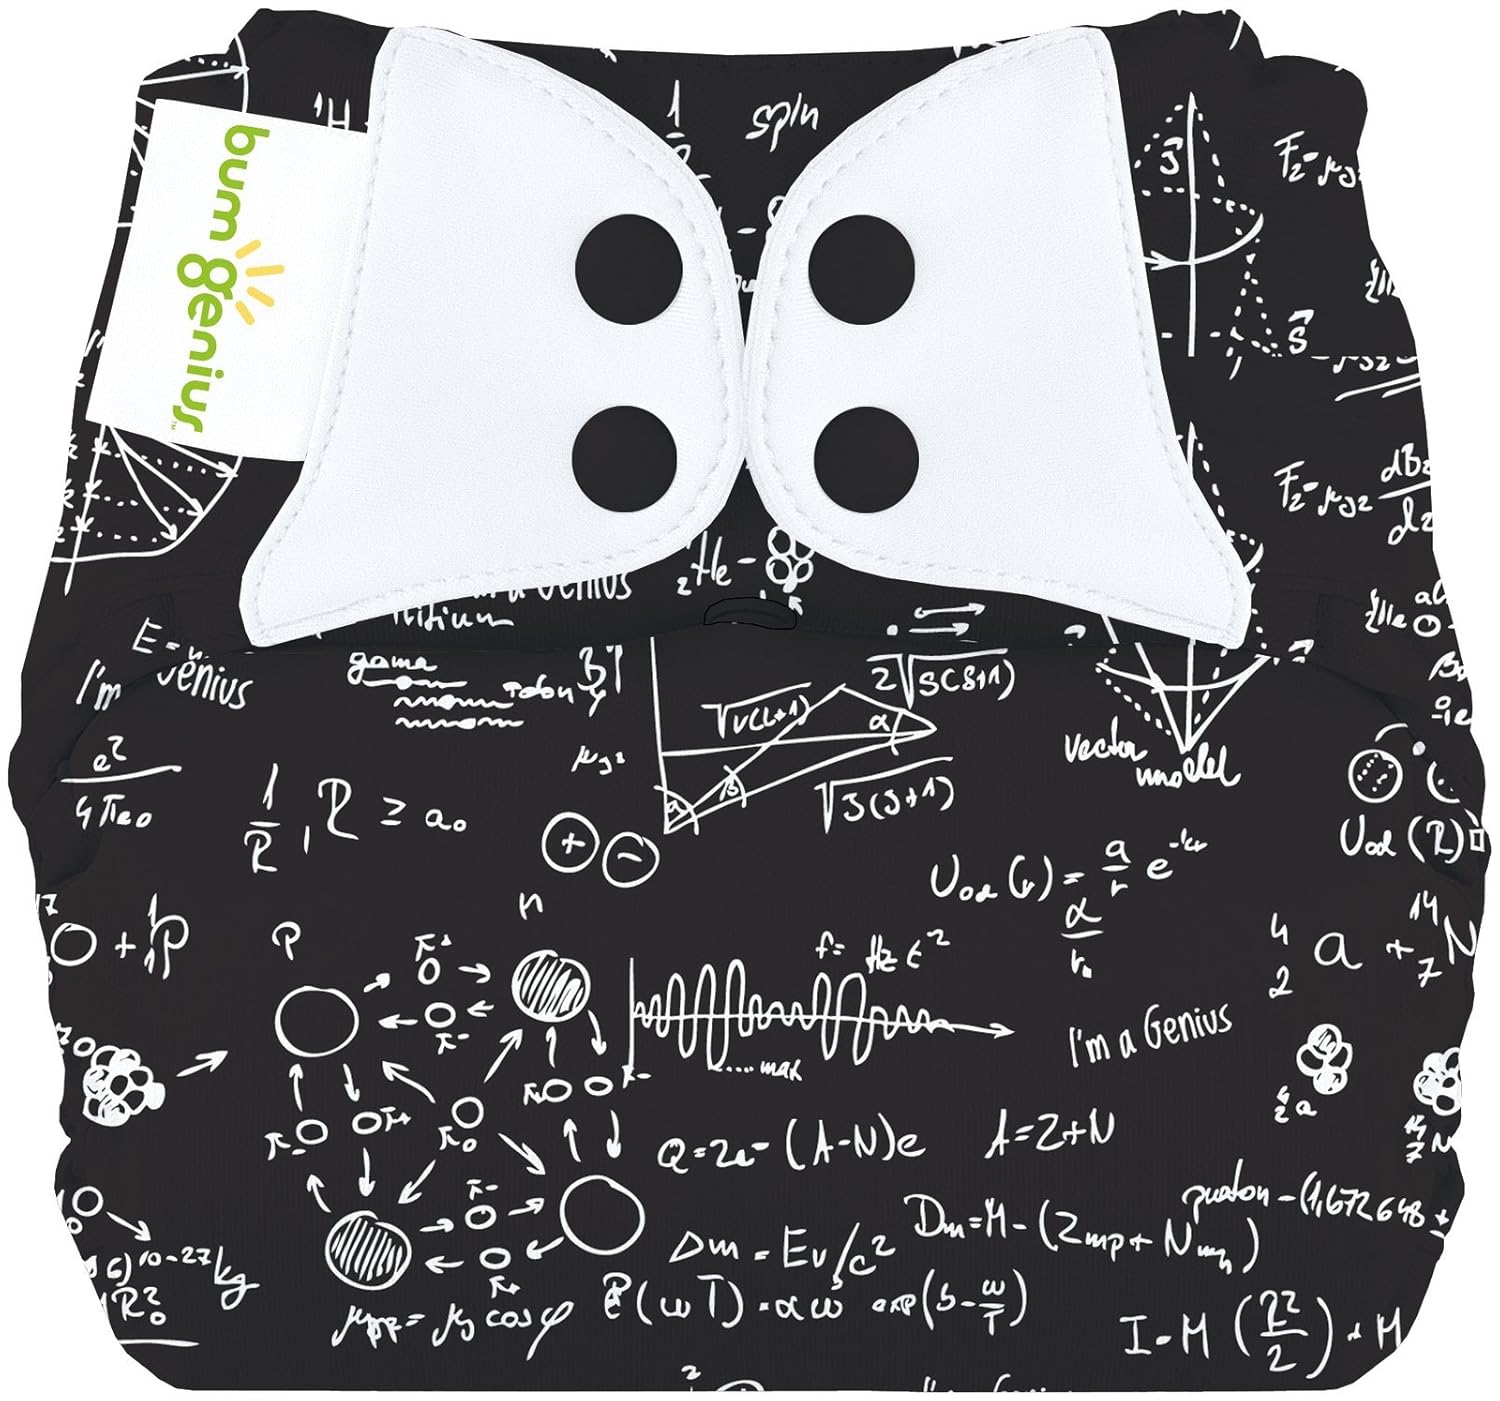
5) The cute factor... a diaper has no business being this cute:


Of course the usual deterent came up while decision making: POOP.  Fortunately, Gilbert has already cured me of any concerns about baby poop.  By the time Gil was a week old, I had been pooped on, peed on, and spit up on.  For the first time in my life, I thought well, it wasn't that much pee he got on me.  I can wear this shirt to the store, right?

Fast forward 3 1/2 years and I now have dogs, chickens, a duck, and bunnies.  Poop is pretty much a day to day fact of life.  I will get poop on my hands sometimes.  It just can't be avoided.  Disposable or cloth will not change that.

But still I almost turned back.  Why? SO MANY CHOICES.  OVERWHELMING CHOICES.

After reading in the middle of the night (pregnancy insomnia put to good use), I was starting to stress out... pocket diapers, all in ones, pod systems, liners, prefolds, covers, snappis, aplix.

My mind was swimming with brand names like Fuzzibums, Bumgenius, Rumparooz, Kawaii baby, Thirsties, Kissaluvs, Bummis, G diapers, Simply Baby.  Who names these things anyway?

Do I get hemp, cotton, fleece, or microfiber inserts?  How many do I need?

So many questions, so many opinions, no definitive answers.

Just when I was about to turn back, I got a nice dose of deus ex machina.  An old friend actually owns a cloth diapering business.  (Hallelujah.  Somebody who knows what they are doing.  Help me please!)

The wonderful Susan from Buckwheat Bottoms jumped in.  She sorted through the options with me and then set me up with a diaper "stash".  Between the lovely diapers from Buckwheat Bottoms, the hand me down diapers I already had, and a few I may have impulse bought on ebay (come on... the diaper cover has robots on it.  Robots cannot be resisted), I now have a complete stash.

A nice touch with the stash from BB was the card with washing instructions that I taped up in my laundry room.  Now my husband or anybody who comes over to help out with baby will know what to do.

Here's the starting line up:


6 Bumgenius newborn all in one Velcro
18 OsoCozy newborn Prefolds
Snappis - 3 count, Size 1
12 Bumgenius elementals onesize, cotton, all in ones
3 Softbums Velcro, onesize, with the snap in inserts, 6 newborn/onesize inserts
3 Bummies onesize covers
1 Rumparooz newborn cover
1 small Thirsties (velcro closure)
4 small fuzzibunz (snap closure)
6 gerber prefolds
2 SimplyCloth (justsimplybaby.com) one size
4 bumgenius one size pocket diapers (with velcro closure)
6 small gpants
12 small gpouches
1 medium gpant
6 medium gpouches
12 M/L/XL gdiaper cloth inserts
40 pack gdiaper disposable small/newborn inserts
32 M/L/XL gdiaper disposable inserts
1 travel wet bag
1 hanging Fuzzibums diaper pail
1 extra diaper pail liner

I'm planning to share my personal impressions and give an up close look at each type of diaper in future blog posts.  I'll share what worked, what didn't, and any tips I learn along the way.

Who knows?  Maybe I'll provide a useful tip that will keep the poo off your hands and pee off your shirt.  You're welcome in advance.

Wednesday, April 15, 2015

$13 Nightstand

We bought a new house last November. Getting settled in has been slooooow (understatement of the year).

It has been nearly six months and we still have boxes to unpack. It's a bit embarrassing when folks come over, but such is life.  My messy house, gaggle of animals, half dressed toddler, and I are a package deal.  Judge me if you must.

Until now, really getting our bedroom in order could wait.  Now it's necessary.

I need to be able to operate in "zombie mode" in the middle of the night.  I need baby's bassinet, burp rags, diaper changes, spare jammies, blankets, and bassinet sheets all within a few feet of each other.

The tangled cords, the easily tipped nightstand, the disorganized closet, the pile of clutter on top of the chest of drawers, the mammoth bed frame that I routinely knock myself on... it all must be dealt with.

Today is about the remedy for the thing I refered to as a nightstand, which isn't really a nightstand.  The previous set up:

Yes folks... that is a TV tray that I got at Goodwill.  It's versatile, but far from classy.  And kind of a space-waster.

I like the idea of a wall mounted nightstand.  It keeps clutter to a minimum (no drawers) and allows for a sizable garbage can underneath.

My first instinct was to buy a prefab one...

I found beauties like this...

79.99 at  Bed, Bath, and Beyond


And this...

No price listed.,.. so I'm thinking that will cost you.  (source)


And this wonderfully whimsical one....

$145 on Etsy (source)


Seriously.  Somebody should go buy that.  It's beautiful.

But ouch... that price tag!  I'm a cheap skate and my cheap-skated-ness will not allow me to spend $145 on a side table.

So, the royal we  decided to make it ourselves.  The original plan was to find some nice wood, cut it to the desired size (about TV tray size), sand, stain and mount it with brackets.

We snagged some $6 brackets from IKEA (available here), two for each nightstand.

Then fate saw fit to smile on us and we found a set of beautiful, dark wood TV trays sitting on the curb with a free sign.  FREE, I tell you.

FREE is my favorite price.  It's why I write it in all caps.

From there assembly was pretty straight forward.

Step 1: Remove the hardware from the table (or watch as your husband does it for you).

Step 2: Attach the brackets to the table with 3/4 inch screws.  (I took a picture of this, but it was less than flattering, so it was deleted).

Step 3: Attach the table to the wall.  Hardware needed here will vary based on where you are mounting it.  If you can hit a stud, that is best.  The position of our bed didn't allow for that, so we put in pretty burly drywall anchors.

And voila...

Please excuse the hardware organizer and tools on there.  I really phoned in the pictures on this one.  Literally... I used my phone.

Easier than pie.  Simply repeat for the other side of the bed and you are in business.

Not worthy of Better Homes & Gardens, but certainly an upgrade from the folding tray.  Also inexpensive and exactly what we need.


Friday, April 10, 2015

Charlotte, the Pekin Duck

I'm convinced normal people don't wake up in the morning and think to themselves, you know what?  Today I think I want to get a duck.  And few people have the pioneering adventurous stubborn personality to go do just that without proper planning.

Such a half-baked idea was how we ended up with Charlotte, our chatty Pekin duck.

She made her debut into our family on Easter 2014, complements of the Easter Bunny.  All yellow and fuzzy, she was pretty much impossible to resist.  Gil thinks she is pretty great...


Getting her into the basket was filled with some interesting bumbles that perhaps I can help other future duck owners avoid.

...or you can laugh at me, because you already know all these things...

Since we already had chickens, I thought the process would be a simple two steps:

1. Buy the duck
2. Bring the duck home.

INSTANT DUCKLING JOY!

Um... yeah.  It didn't go like that.  Here's a more realistic picture of what happened and what I learned from the experience:

STEP 1: Acquiring the duck (really step one is working out their housing situation, but we already had a brooder left over from our chickens that served the purpose)

The super-wise, always prepared Easter Bunny (okay, it's me and I'm neither of those things) went to get a duck at the feed store.  The first problem instantly appeared.  They only had "straight run" ducks.  And the employees wouldn't help the clueless Easter Bunny sex ducklings.

But I was not to be deterred!  So, living in fear of snagging a drake (dangerous to keep in close quarters with hens and not allowed in the city), I hastily pulled up a YouTube video and a detailed diagram of duck genitalia in the store and learned how to sex ducklings.

LESSON 1: Learn to distinguish duckling parts before you go to the store.  You get odd looks asking bystanders if they know how to sex ducklings.  Also, it's stressful to try mastering the "flip and peek" method with an audience.

LESSON 2:  Some ducklings don't particularly care for being flipped upside down and having their parts popped out.  The important take away here is that an unhappy drake can hide his parts.

I may have checked Charlotte 3 separate times before determining that she was definitely a girl and not a resistant boy.  That means I flipped her over 3 times.  And once or twice after we got her home. It's a miracle she still likes people.

Photographic evidence that she does not hate the human race...

Photo Credit: Maureen Armstrong


LESSON 3: Acquiring an older duck will allow you to distinguish between the sexes with greater ease (but they are not as cute).  While ducks make the same sound as ducklings, eventually only female ducks will quack.  Drakes make a deeper, raspier sound.  Also, drakes get a lovely little curl in their tail feathers.

I know what you are thinking.  This is not helpful when looking at ducklings!  Every blog brought these up as ways to tell the difference, but in that moment at the store, I almost felt enraged that this useless information was served up so high in my search results.

So I stood there, more than a little bit frazzled, flipping ducklings upside down and exposing their parts.

STEP 2: Taking the duck home.

After deciding on Charlotte, I paid for her and headed home.  I naïvely thought that would be the only complication.

But I was wrong, of course.  This brings me to my next bit of wisdom...

LESSON 4: Don't get just one duck or be prepared for handling their companionship needs if you do.

I had read before we got Charlotte that ducks (including, but not limited to Pekins) are happiest in pairs or groups.  I interpreted that to mean that they would survive by themselves, but long term it would be best for them to have companionship.

Well, from my personal experience, the reference materials should have said that ducks will go absolutely insane without a buddy.  They will experience total, complete, absolute panic when left alone.  Charlotte was totally FREAKED OUT!

She left her food and water untouched in the brooder and frantically let out the saddest, loudest peeps.

It was too late at night by the time we established she was not going to calm down to go back and get a second duck, but Charlotte seemed so stressed, we were concerned she might actually die.

Hello self, what did you get yourself into? You do not want to be responsible for the demise of a fuzzy little duckling.

Fortunately, my husband came to the rescue.  At 11 pm at night, after some hasty internet searches on what to do, Abe rushed to a 24 hour store and got a small mirror and a beanie baby.

That's right... a mirror and a stuffed animal. You see, the duckling will think the mirror is another duck and will calm right down.  The stuffed animal gave her something to snuggle with.

I was skeptical.  Also, desperate.  Lucky for us, the second she saw the mirror, the lamenting stopped and she snuggled right up against it with the stuffed animals.

Now she sticks to our chickens like glue.  She loves them.


If there's one thing I can count on, it is that things never go exactly to plan around here, but eventually everything turns out just fine.  At least it has so far...

Monday, April 6, 2015

The second time around...

Baby #2 is due this spring!  April 30th to be exact, but I'm hoping that an earlier appearance is in the cards.

I am scurrying around and planning for the new arrival.  I make list after list and check things off.

We have been cleaning out the nursery, arranging our bedroom to make late night feedings/diaper changes easier, ordering cloth diapers, sorting through old baby clothes, reviewing the stuff that's good to know for labor, and attempting to declutter.  We are building coops and hutches, making home repairs, planning freezer meals, and planting our garden.

I feel prepared!

But in all the preparation, I can't help but think how different this second time is from the first.

Life has changed so much in just a few years since Gilbert was born!  Let's recall shall we?


He was so tiny and cute. Moving along...

We are blessed to currently live in a good-sized, three bedroom house with plenty of space for kids and critters.

I love stepping into the new baby's nursery and admiring all the traditionally-expected baby gear, lovingly cleaned and ready.  It's wonderful!

Yet instead of feeling pure happiness, I find myself struggling with mixed emotions.  I know.  Struggling? Mixed emotions? Not what a gal would expect when life is good.

At first I tried to shake the feeling and chalk it up to the sleep deprivation, Braxton Hicks, and hormones.   But I think I finally put my finger on the cause...

I feel guilty that our experience with this baby will be so different from the experience we had with Gilbert.  I am worried that Gilbert missed out on something that this baby will have.

When we brought Gilbert home, it was to a 750 sq ft, one bedroom apartment in Seattle.  There was no nursery.  There were no baby decorations.   We had no crib, just a bassinet.  No changing table, just a pad.  No dedicated chest of drawers, just a a few plastic drawers re-purposed from my college days.  

Most of what we did have for Gilbert was generously gifted from family and friends.  Seriously... everything from the bassinet to the baby swing, even the diapers/wipes, were all gifts.

We finally got a crib when he was six months old that we narrowly squeezed into the corner of our bedroom...


And when he began to crawl, we carved out a bit of child safe play space...


But that was kind of it.  There was no space, so we managed without many of the customary conveniences new parents purchase.  There was no furious "nesting"  before he arrived.

Thinking about it makes me feel a melancholy kind of guilt.  I know it shouldn't. I know that stuff is not what matters.  Gilbert was spoiled with attention and love.

And yet I still struggle.  I struggle to accept that having all the "right" gear, the coordinated color schemes, and a themed nursery just weren't and aren't important.  They don't make children feel more or less loved.

At the same time I feel guilt, I also feel thankful.  Thankful that by forgoing a move to a larger apartment at the time and skipping the usual loot, we had very little financial stress and a month to month lease (which proved a saving grace when Abe was laid off when Gil was 5 months old and we chose to move).

So... I feel happy, I feel sad, I feel guilty, I feel prepared, I feel elated for the new addition to come.  Lord, have mercy on my poor husband.  Pregnancy and emotions have eaten my brain.